Owner’s Guide
Journey
Setup • Operation • Maintenance • Warranty
Made in Tennessee, USA
Welcome & Quick Start
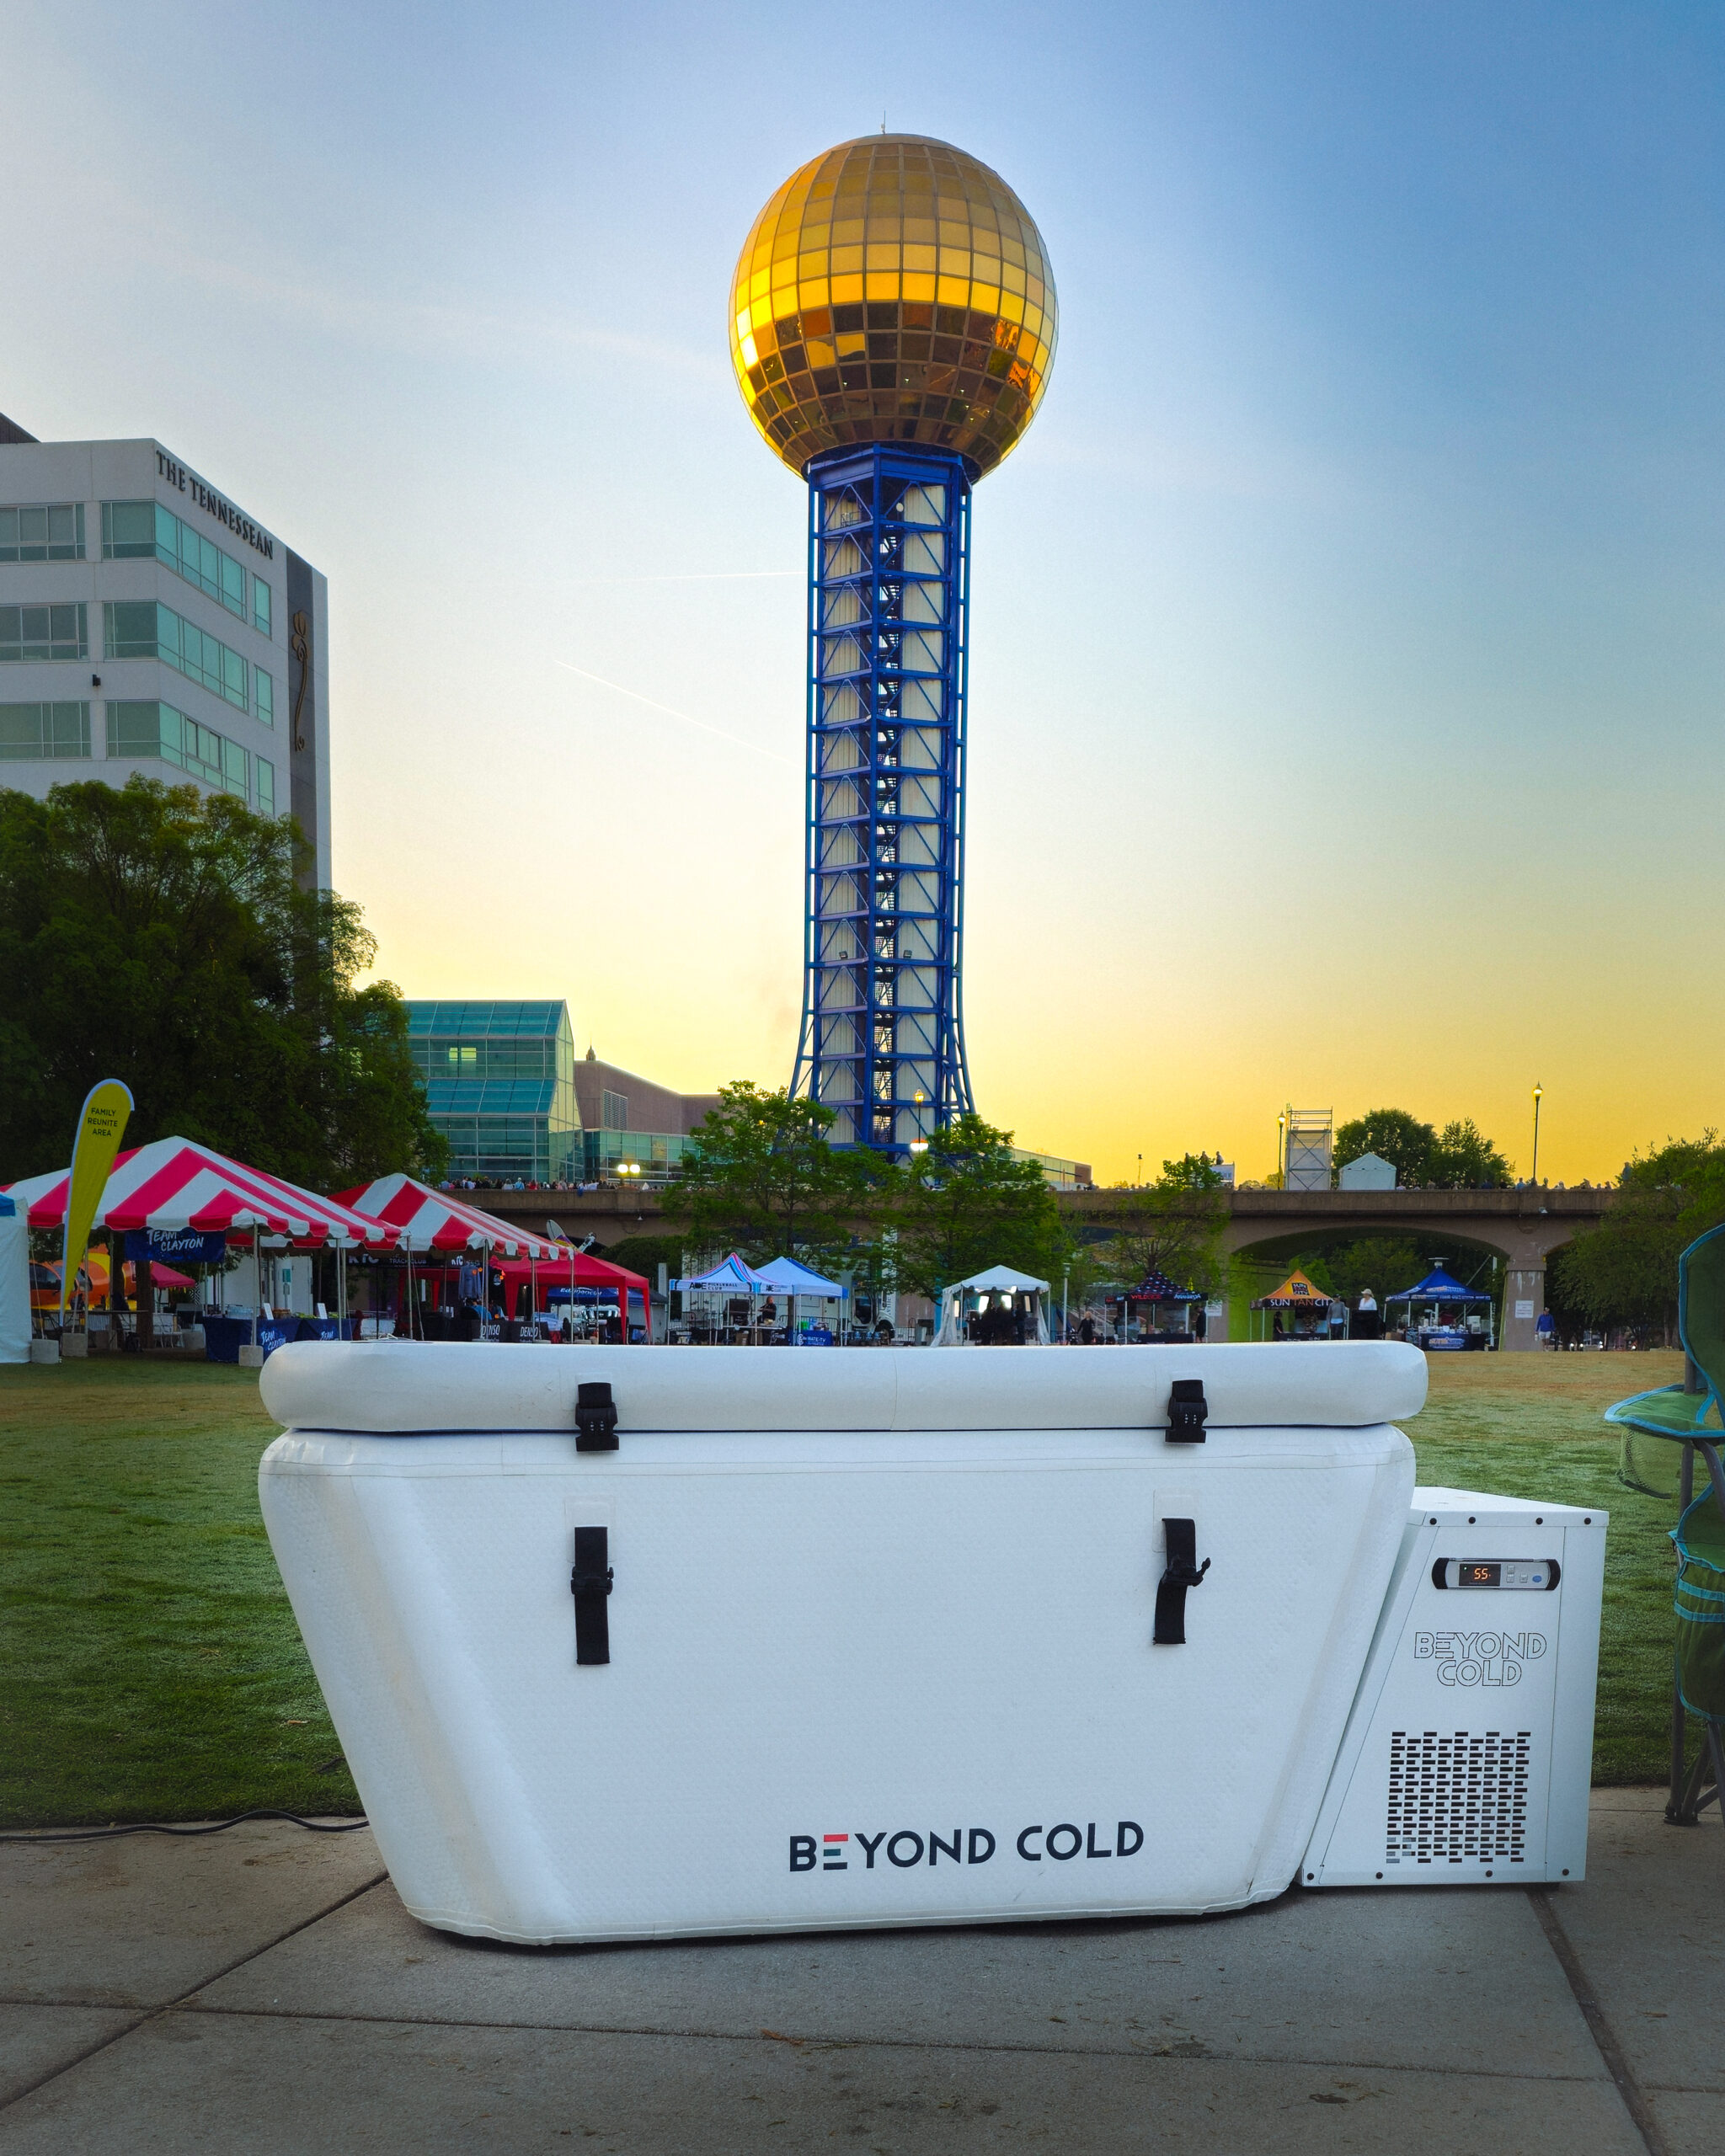
Welcome to Beyond Cold
An inflatable cold plunge with a high-efficiency chiller—lightweight, durable, and easy to set up anywhere for powerful recovery on the go, or right at home.
5-Step Quick Start
Safety Precautions
Never use the tub alone, especially if you're new to cold therapy. Always have someone present who can assist you in case of difficulties.
Limit cold immersion to 3–5 minutes, or 1–3 minutes if new to cold therapy. Cold exposure longer than recommended can result in hypothermia, which is dangerous and may be fatal.
Be aware that sudden immersion in cold water may shock your system, especially if you have underlying health conditions.
Never use the tub while under the influence of drugs or alcohol.
Speak to your healthcare provider before using the tub if you are pregnant, have underlying medical conditions, or are under 18 years of age.
Do not allow children to use the tub without consulting a physician or pediatrician. Always supervise children near the tub.
Journey Tub Overview
The Journey Cold Therapy Tub
Our cold therapy tub is designed for optimal cold immersion, combining comfort, durability, and easy maintenance. With high-quality materials and an ergonomic shape, it ensures consistent temperature control for effective recovery sessions every time.
Controls & Components
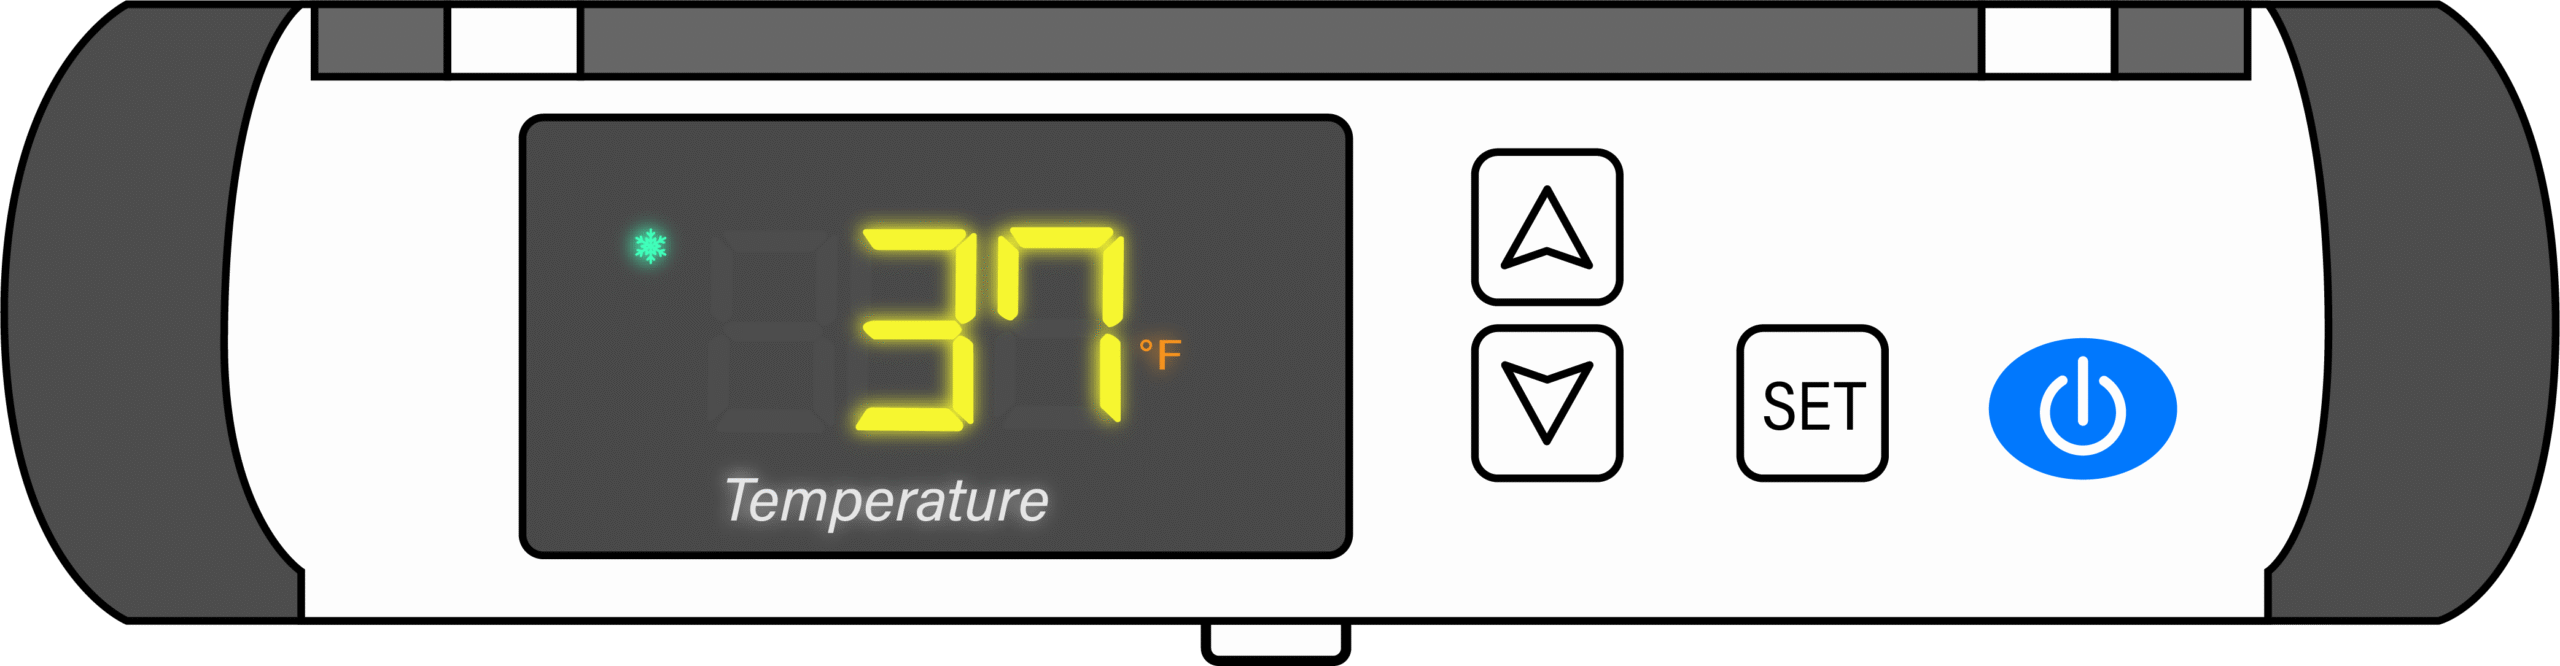
Controls
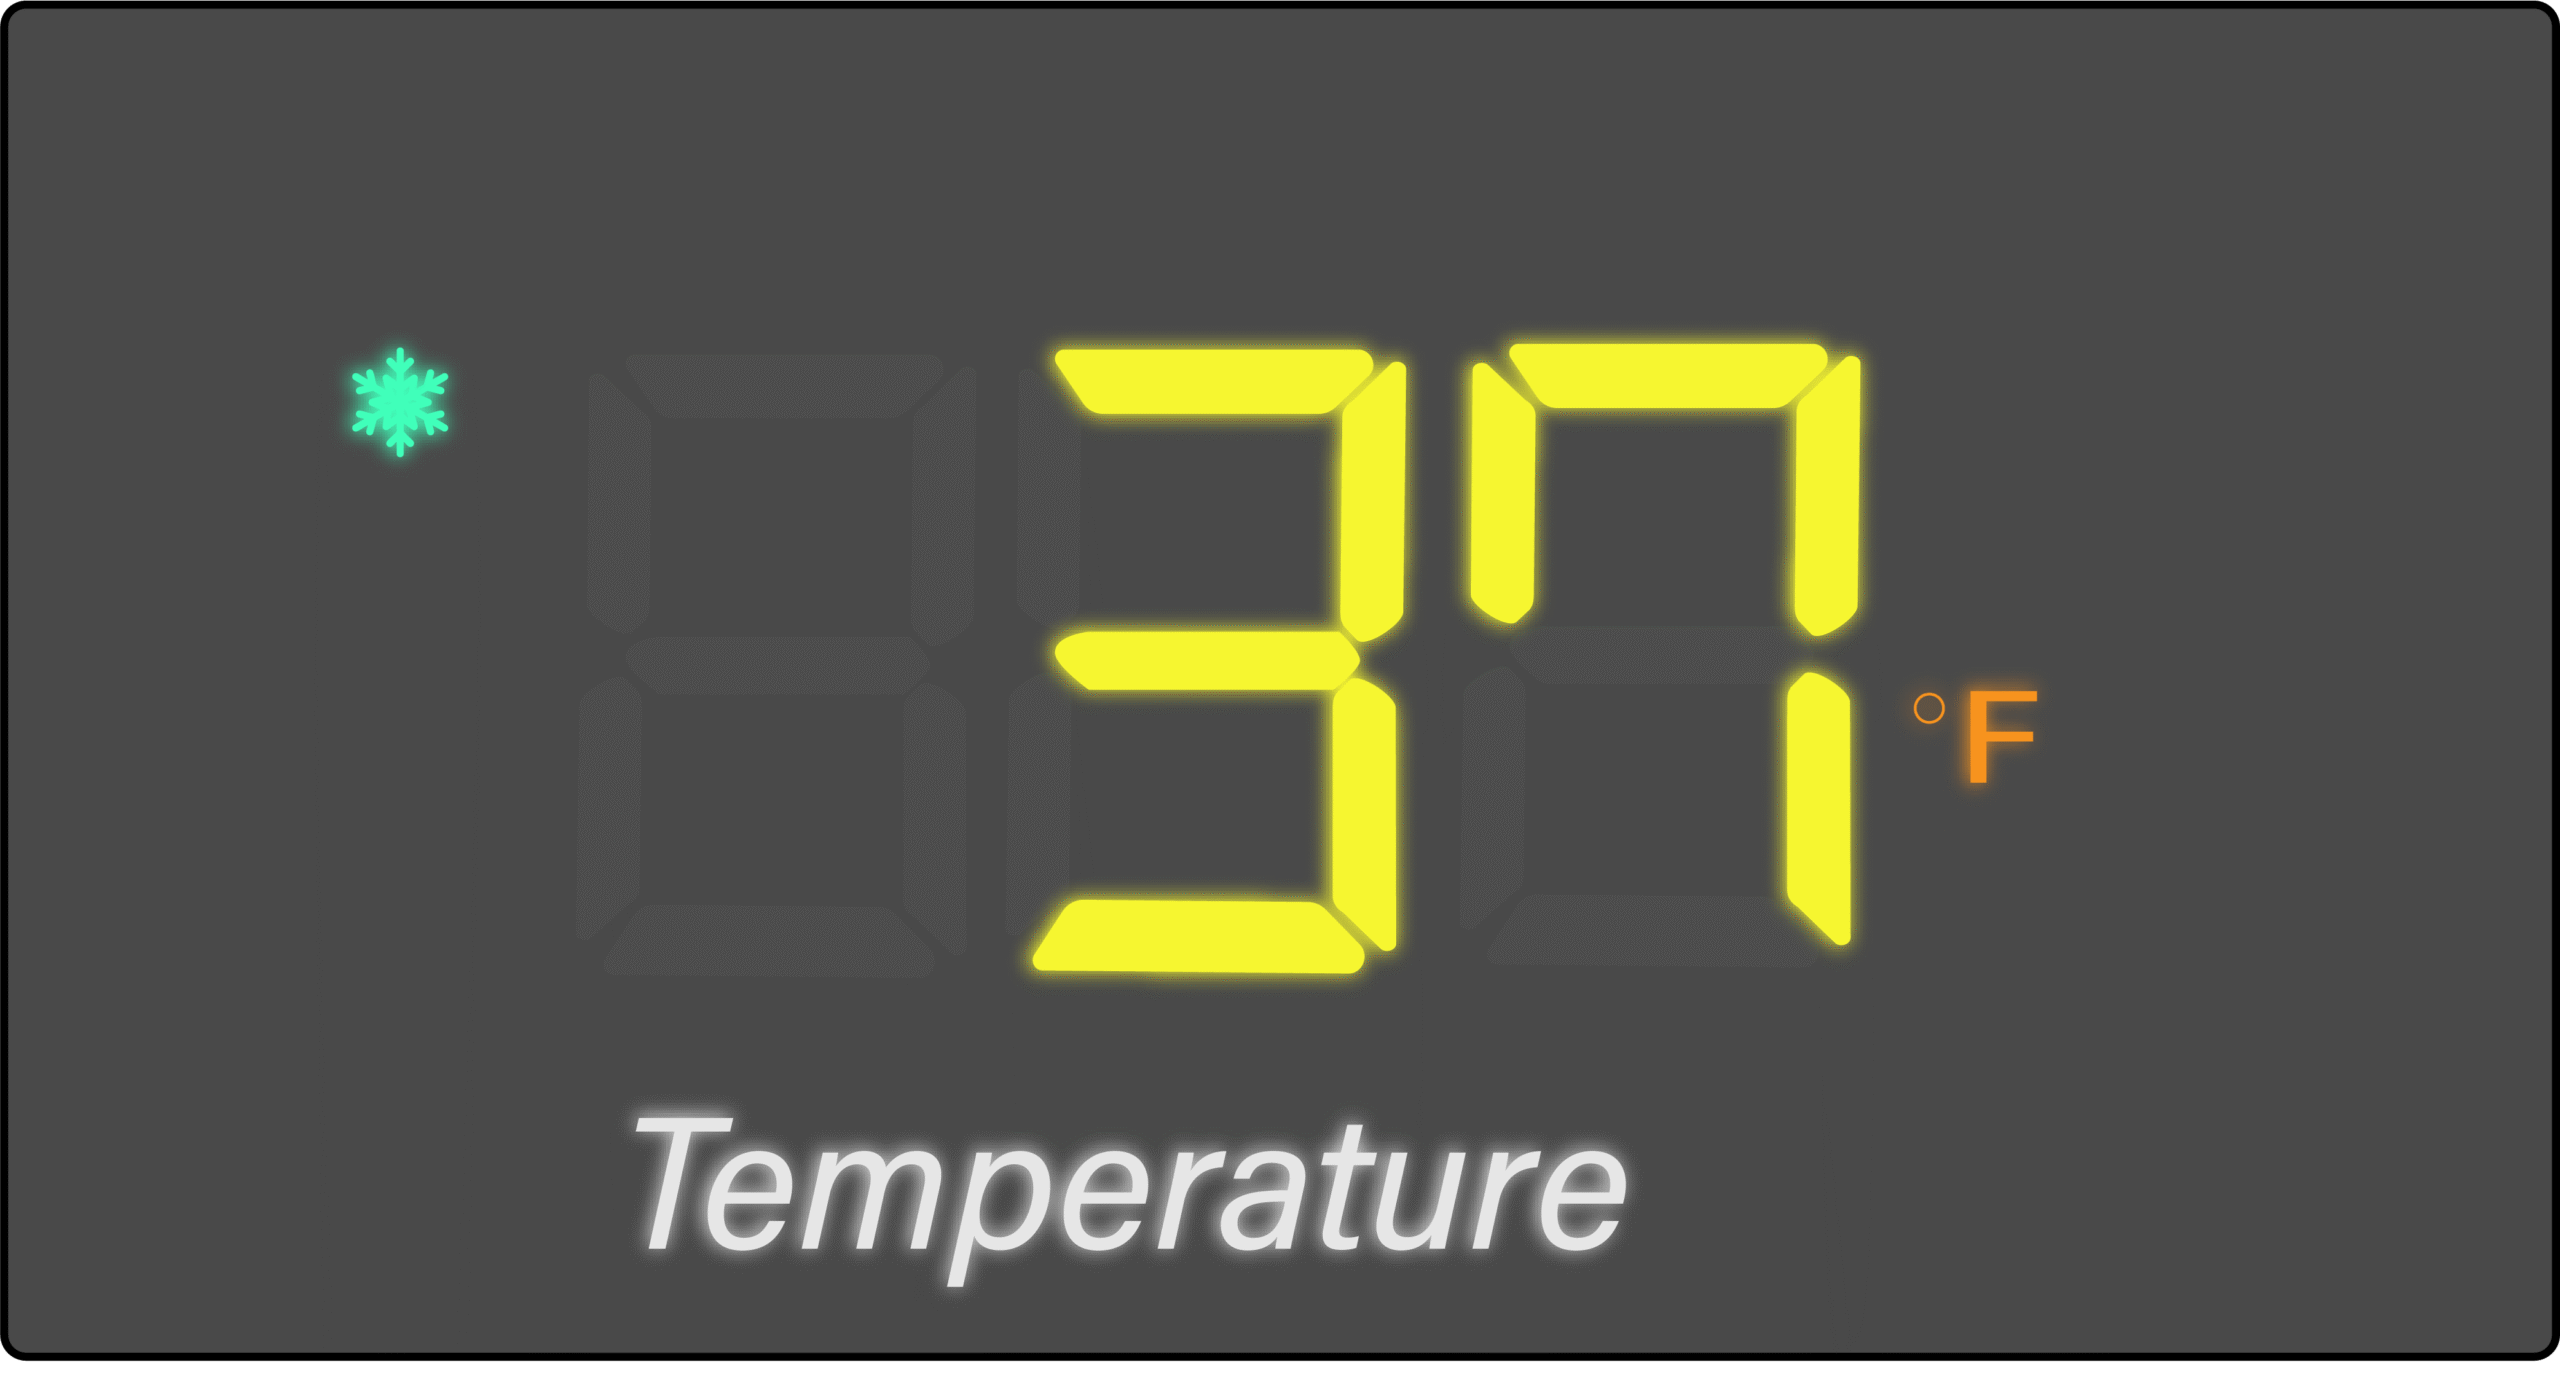
Our user-friendly controller allows you to easily set and monitor your ideal water temperature. With clear display readings and simple adjustments, it gives you precise control over your cold therapy experience.

Power Cable
Our GFI-protected power cable includes a built-in test and reset button for added safety and control. The indicator light allows quick power verification.
Setting Up the Tub & Chiller
Choose a location that can support at least 1,000 lbs. Avoid placing the chiller in areas that cannot get wet. Both the chiller and hoses may create condensation, and water spills are possible.
Place the chiller close to a 120V 15 amp outlet. Avoid using extension cords. If necessary, use a 12 AWG extension cord with a single tap, not a power strip.
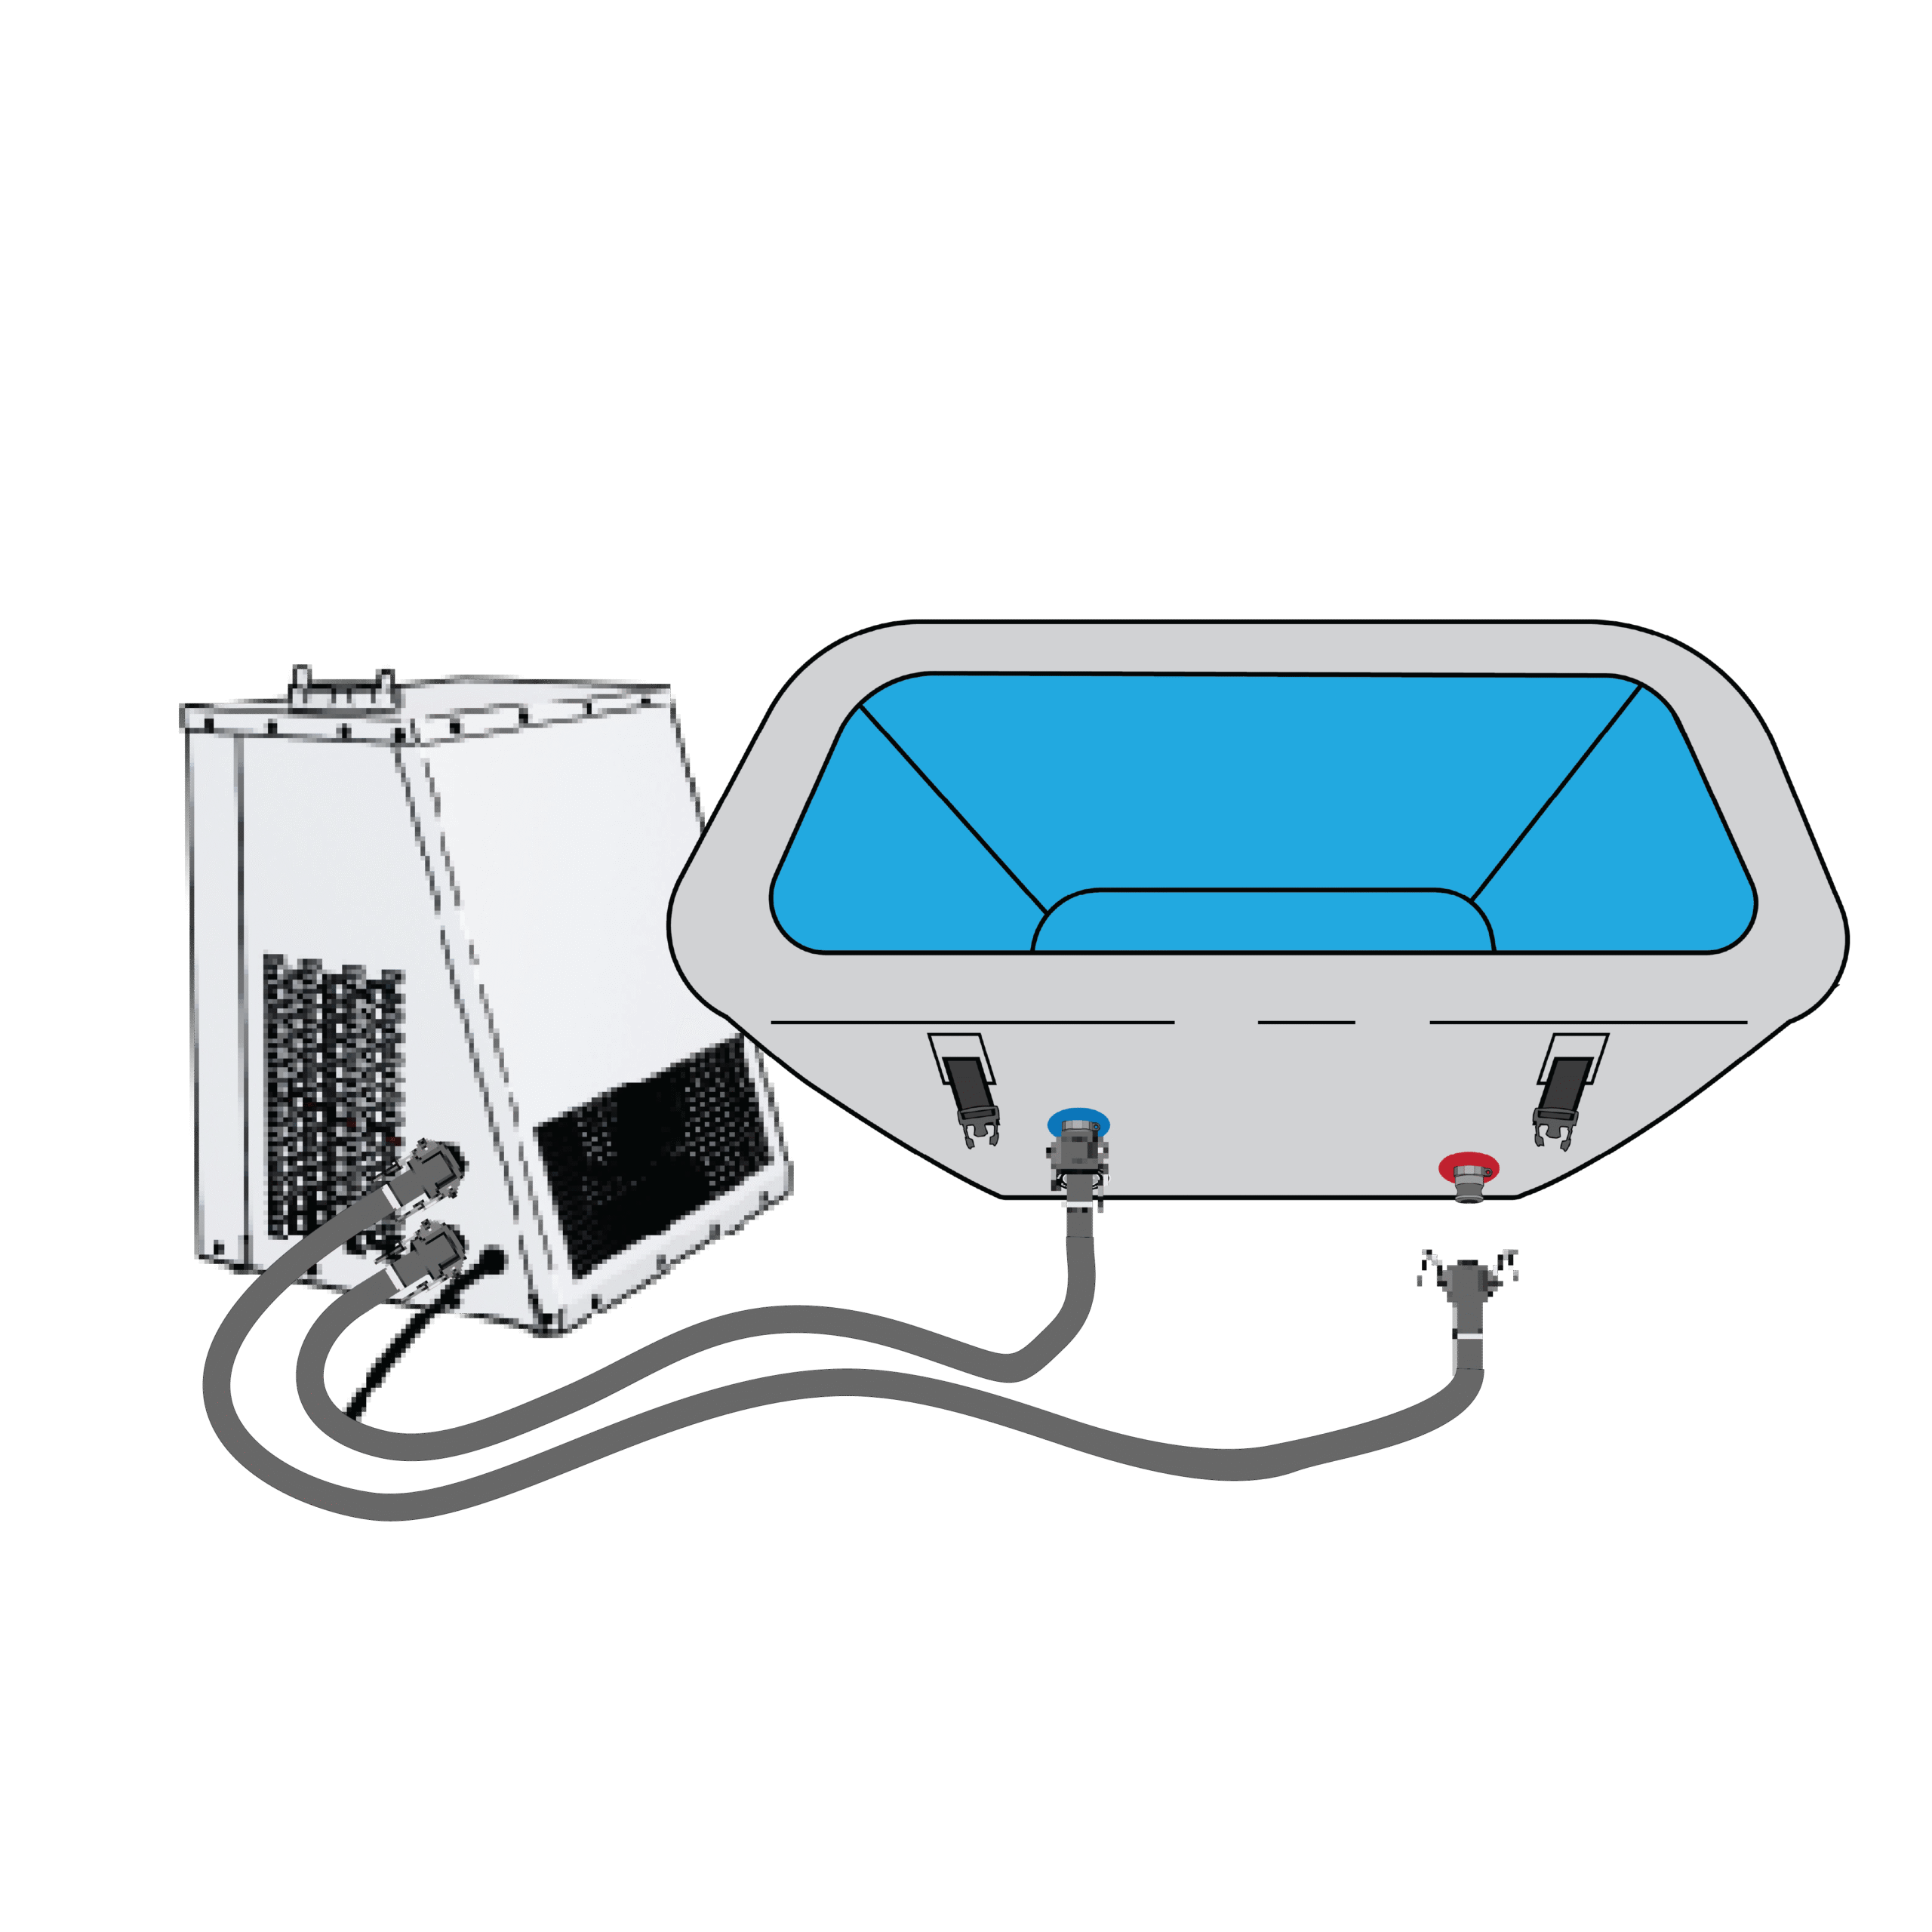
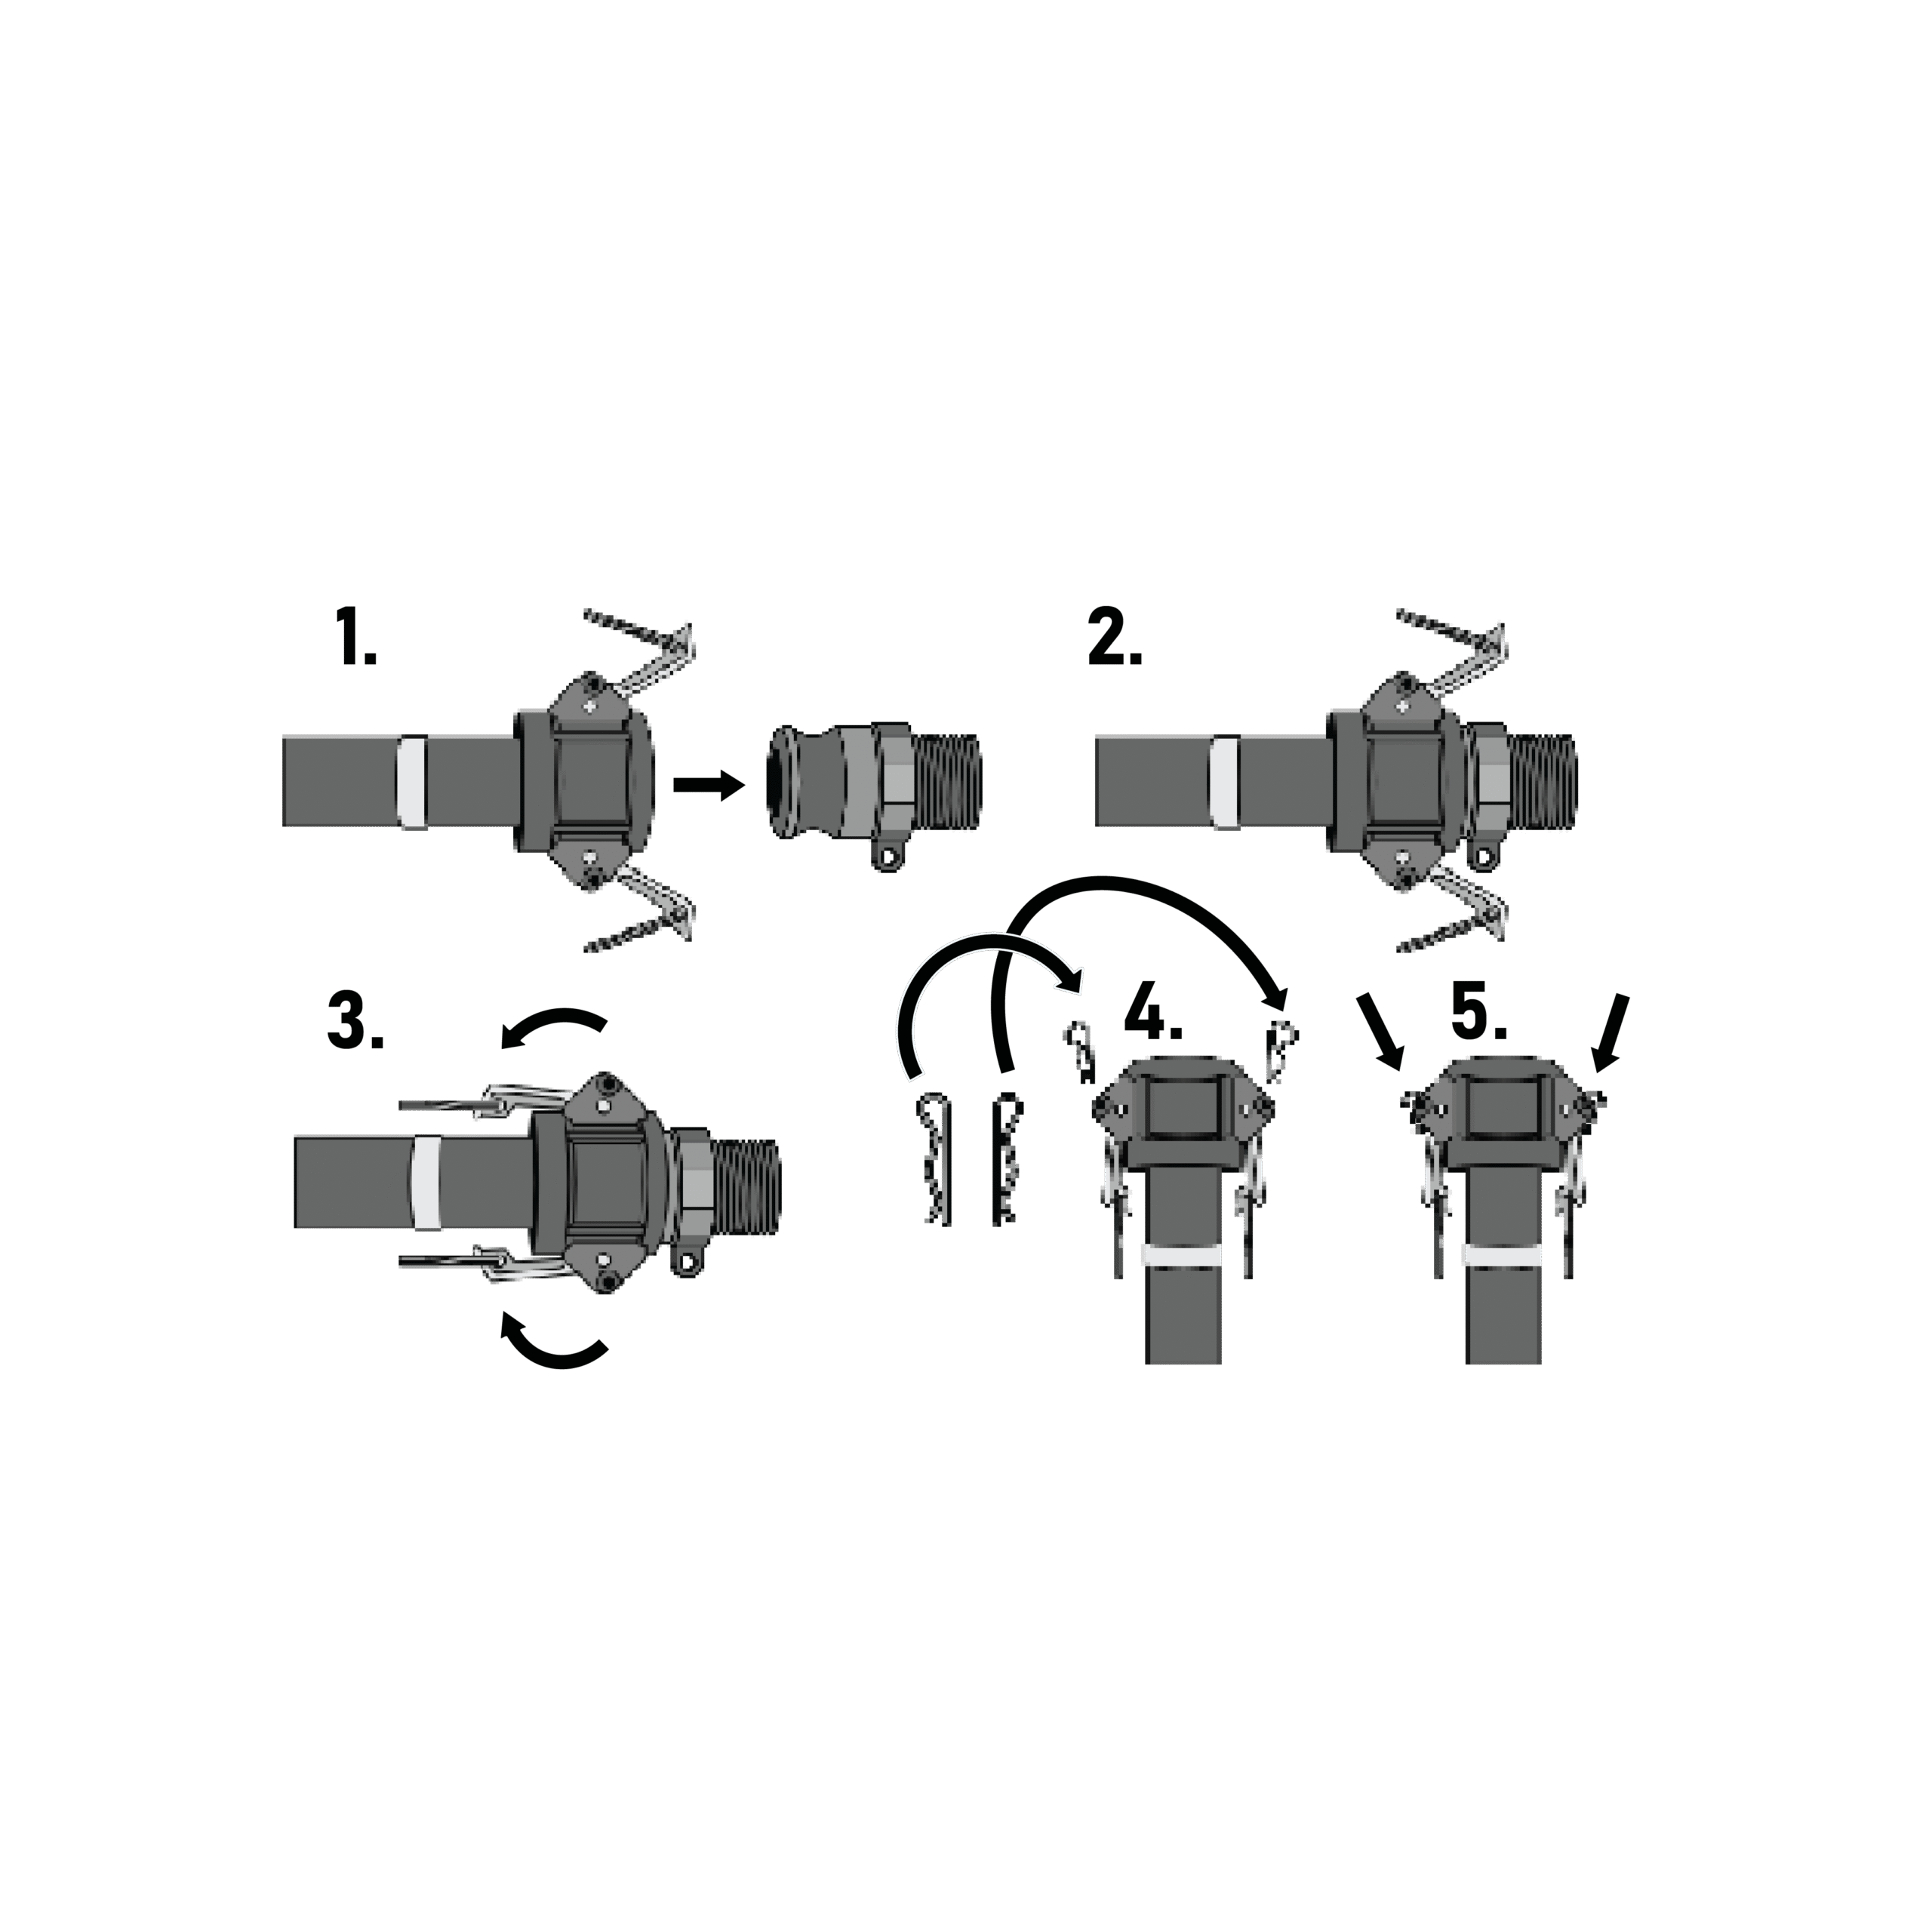
The hoses are color-coded to ensure proper connections. Push the hoses onto the quick-connect fittings and pull the levers toward you to lock them in place. Insert locking pins to secure.
Inflating, Connecting & Filling
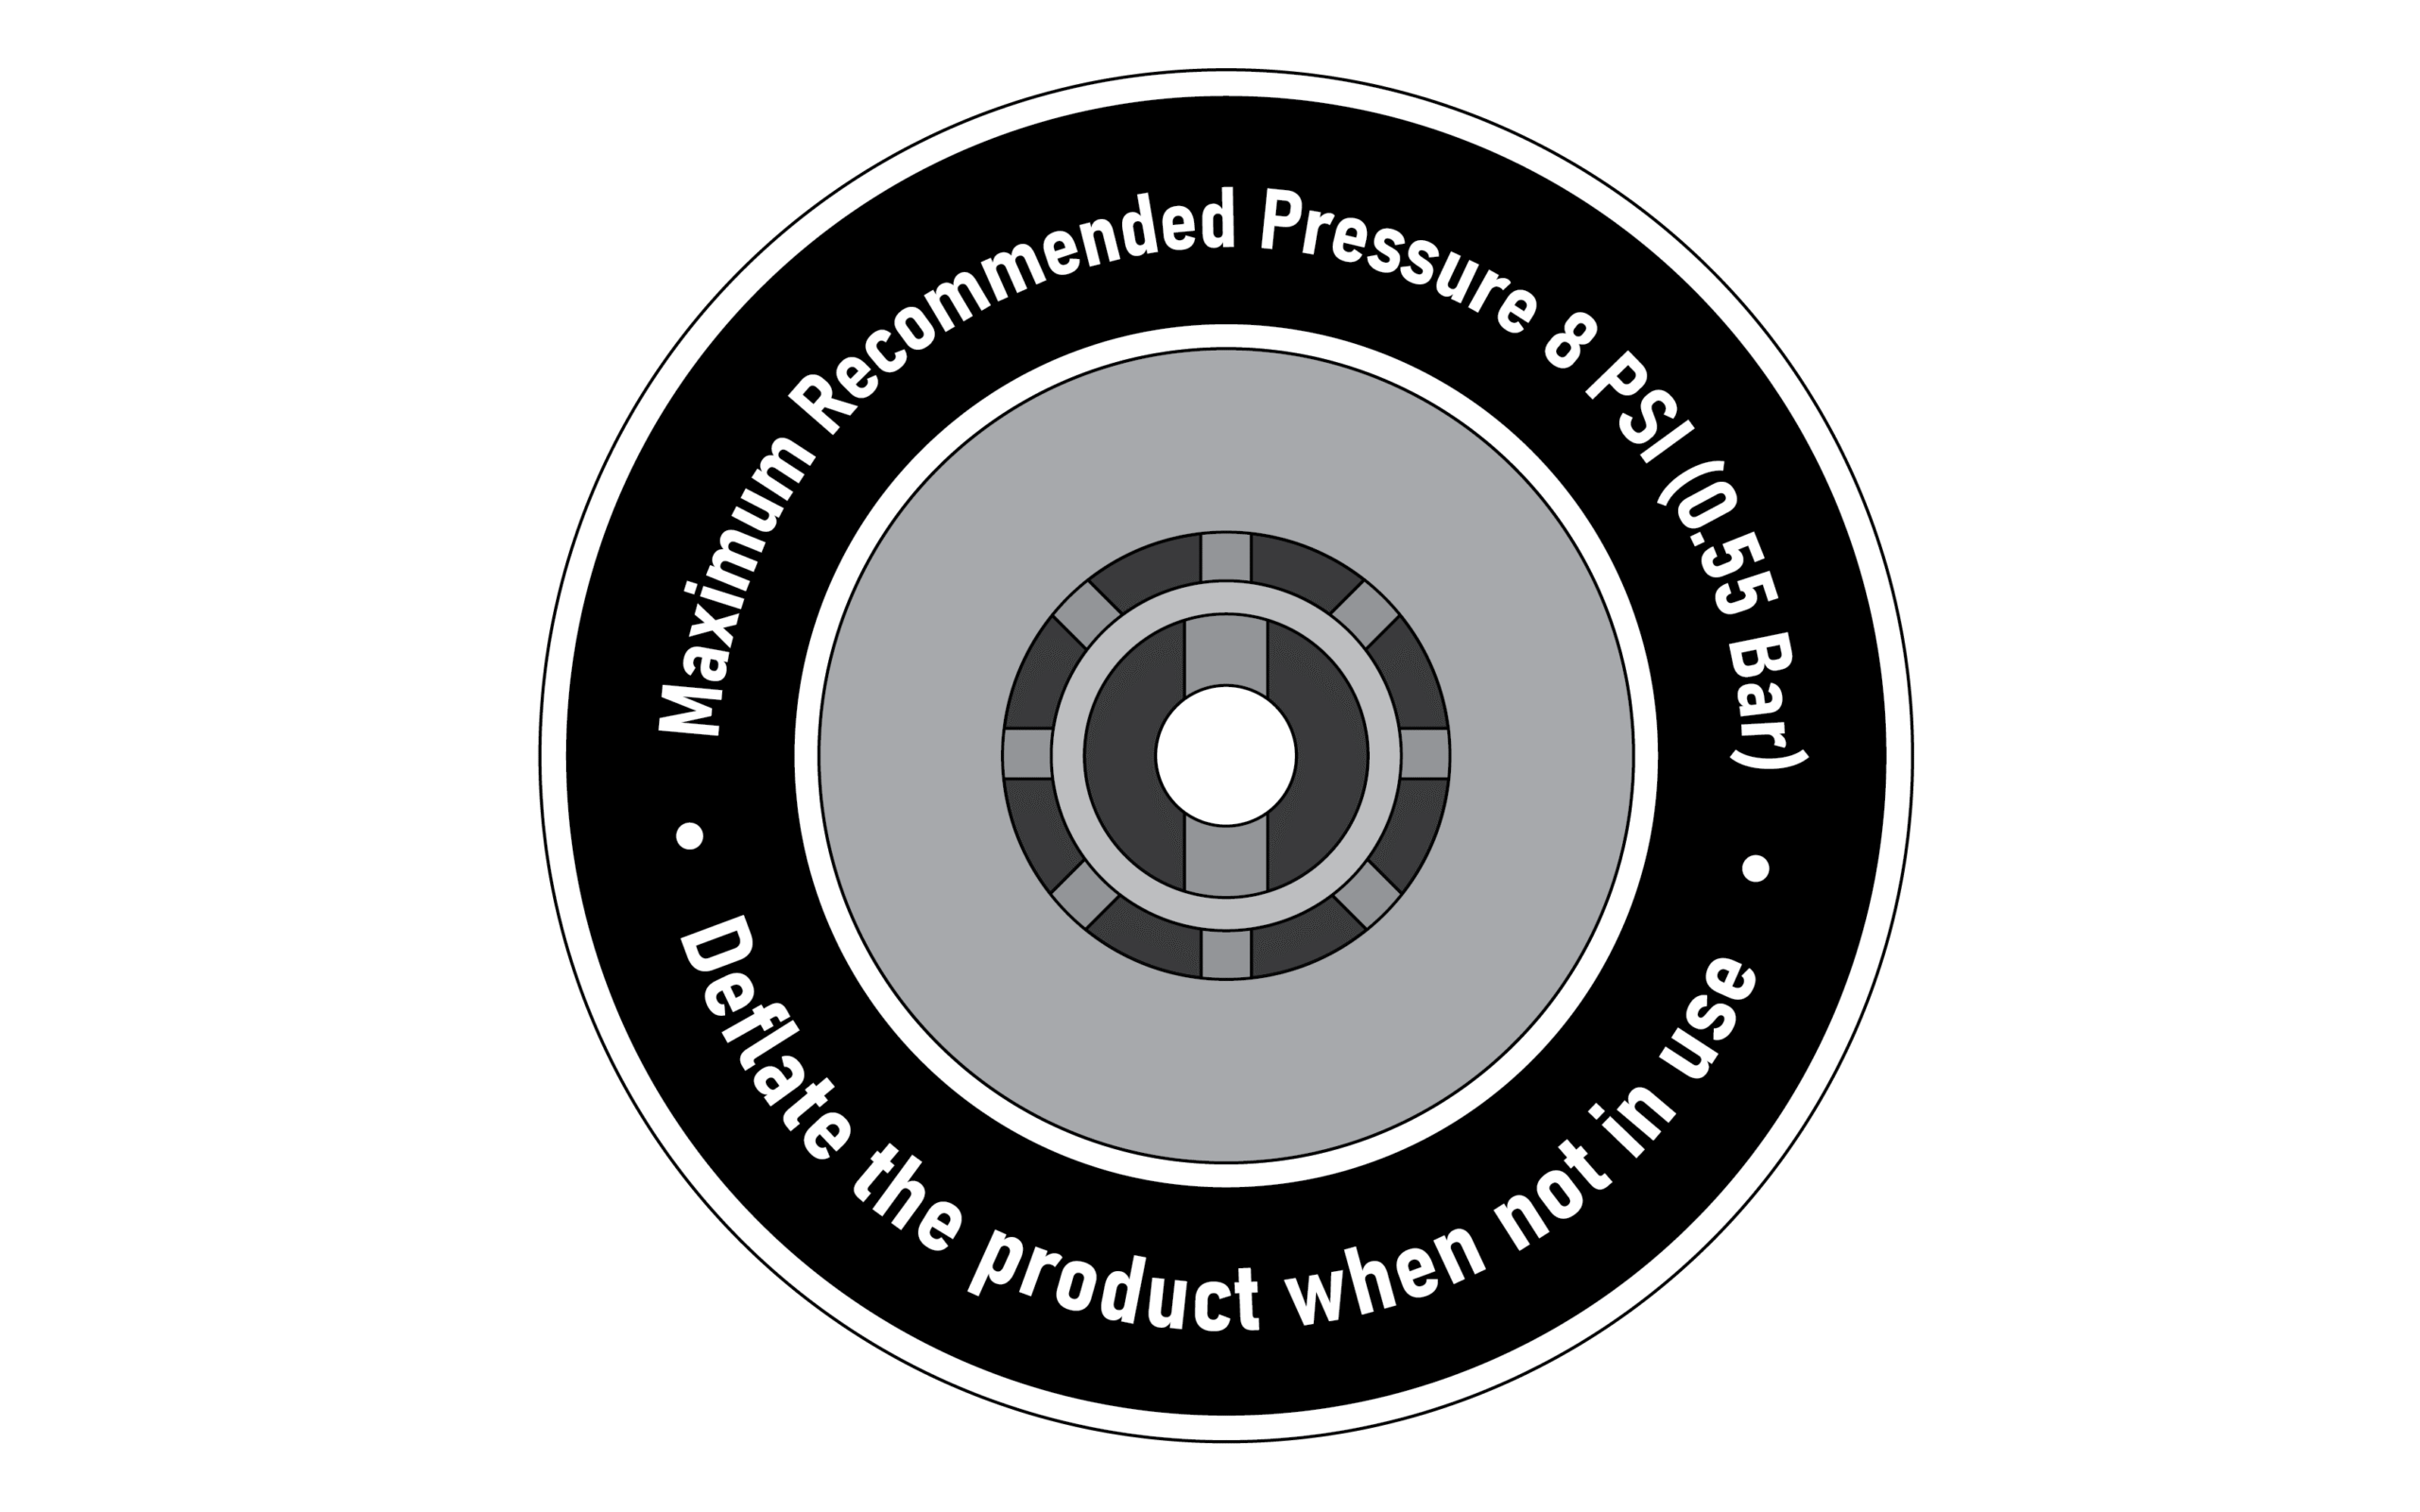
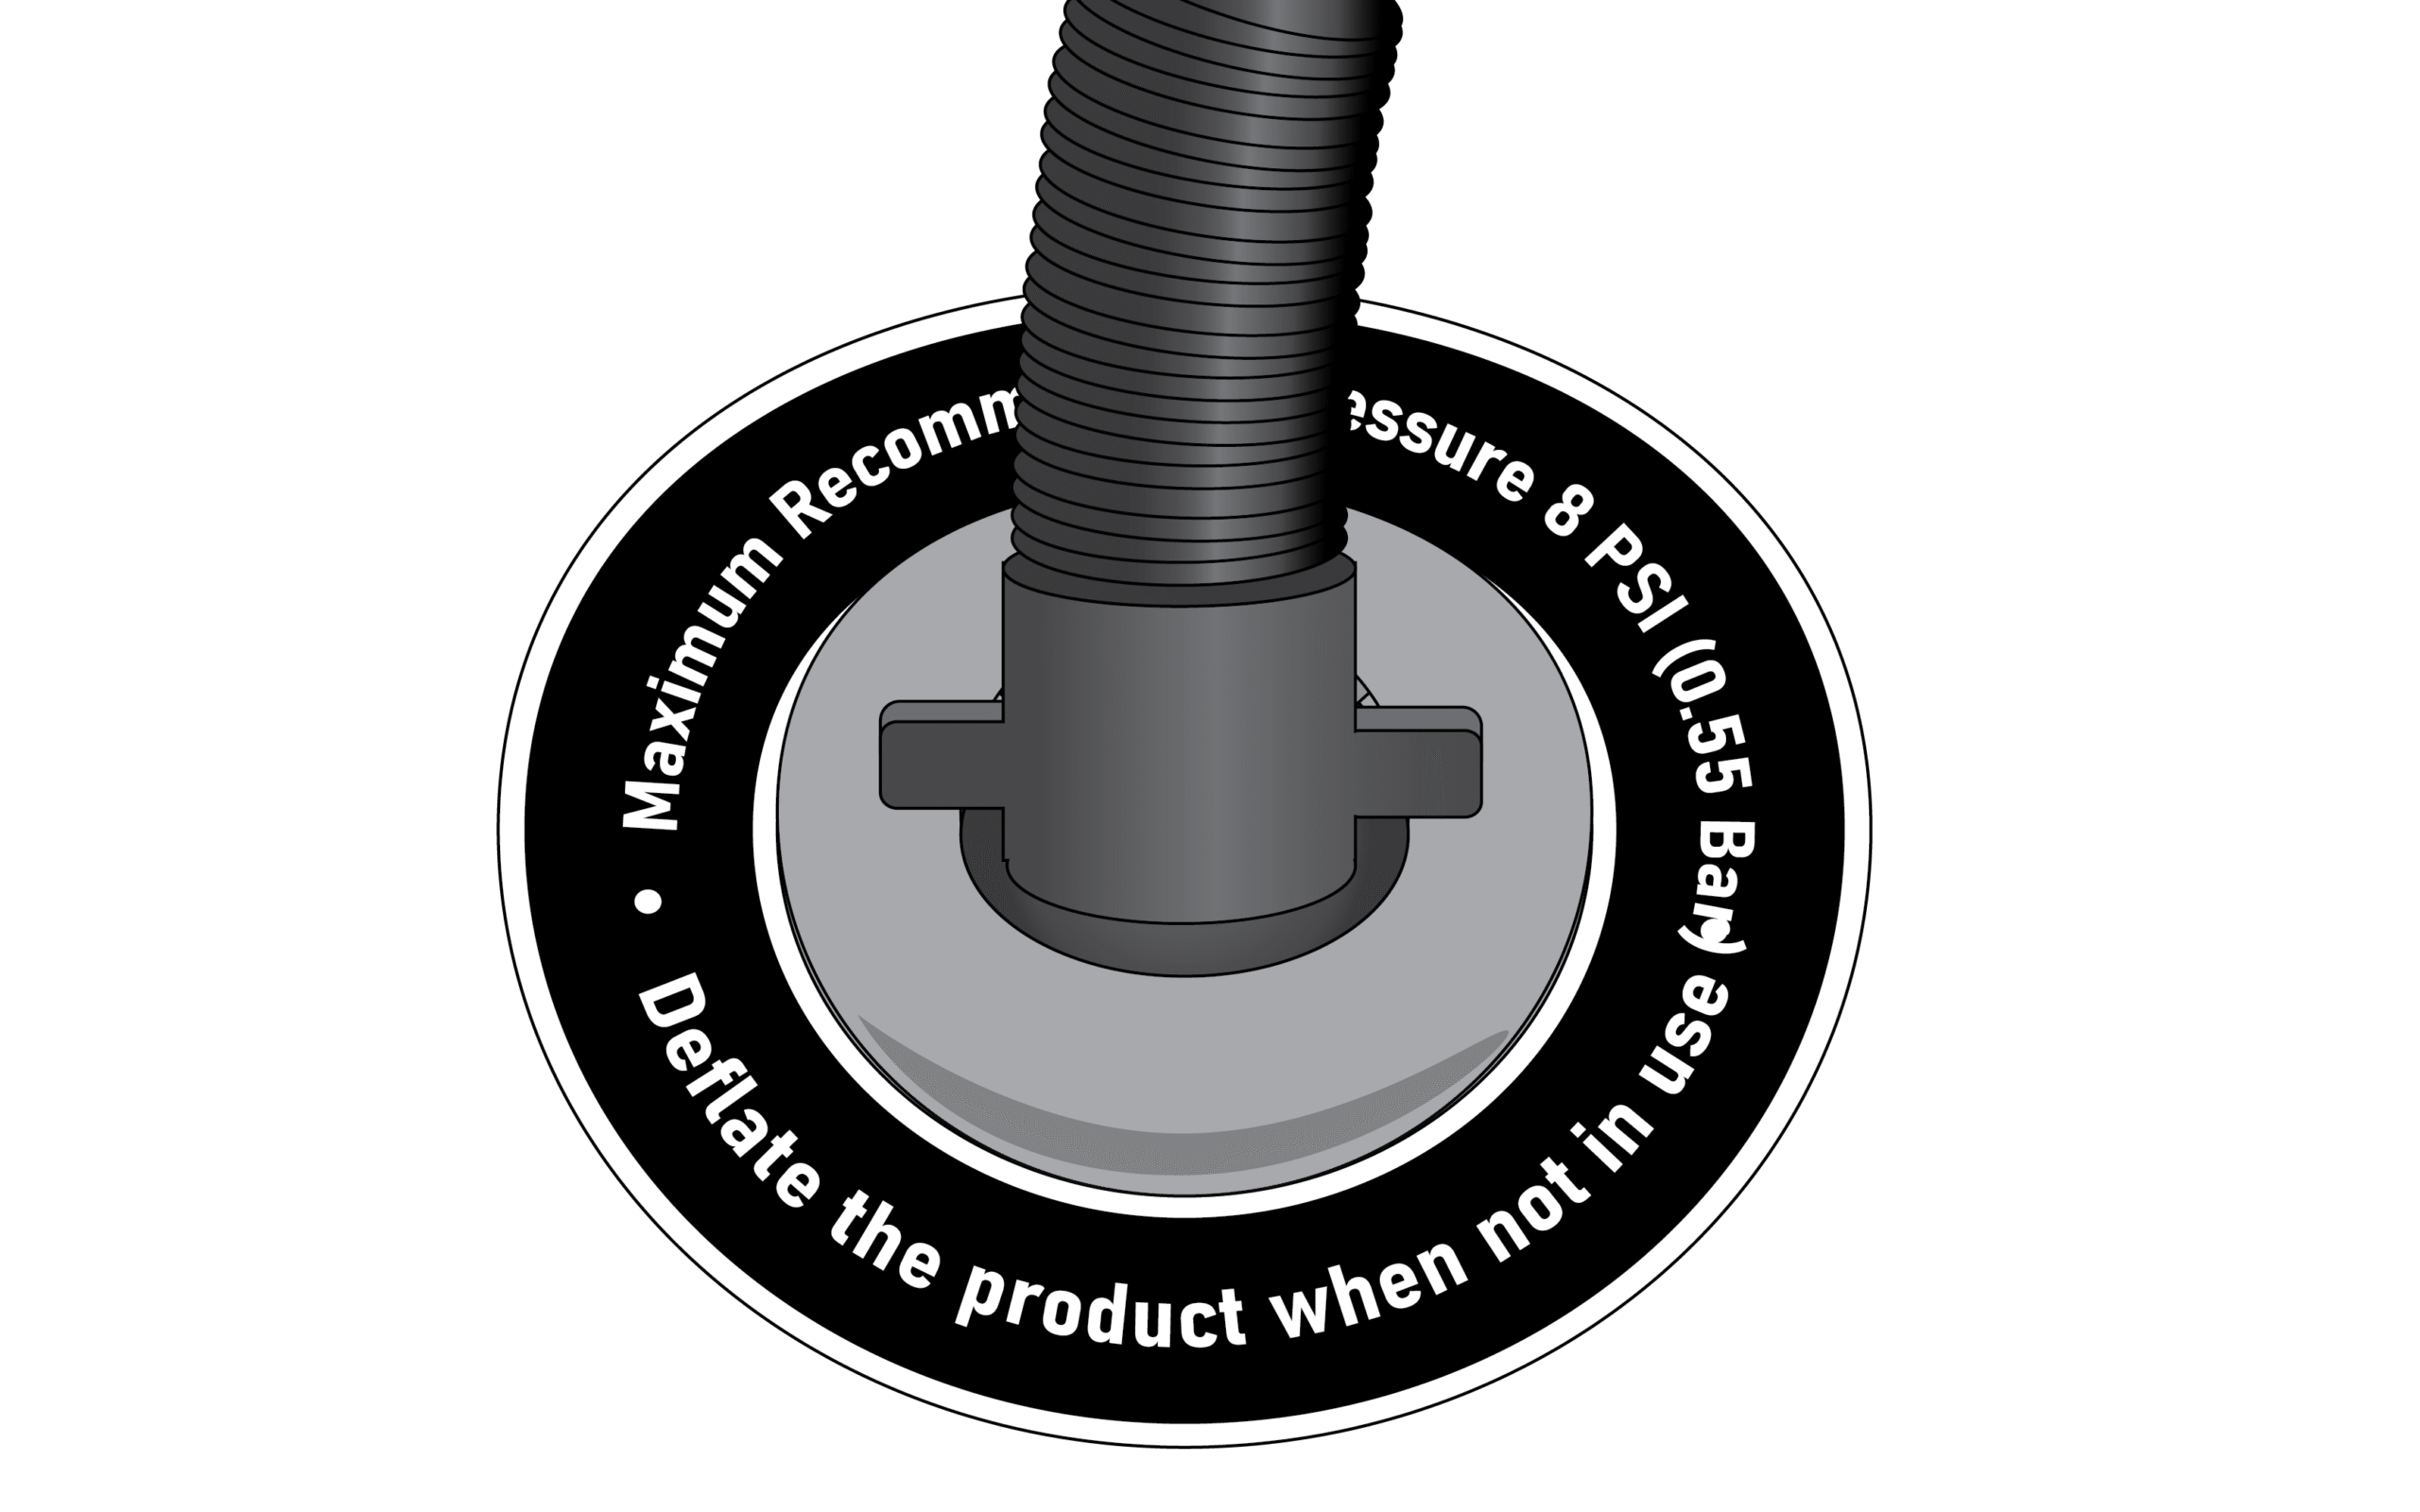

- Inflate the tub and lid by removing the valve cover.
- Insert hose nozzle and twist clockwise to lock in place.
- Inflate the tub while ensuring you do not inflate more than 8 PSI. Remove hose nozzle and reinstall the valve cover.
Fill the tub with water until it is 2 inches above the inlet. Step into the tub to check the water level. It should sit just above your shoulders when submerged. Add water as needed for the perfect fit.
Operating The Chiller
Powering On
Plug in the chiller and turn it on. Check that the power light is illuminated. If not, press the button nearest to the light.
Adjusting the Temperature
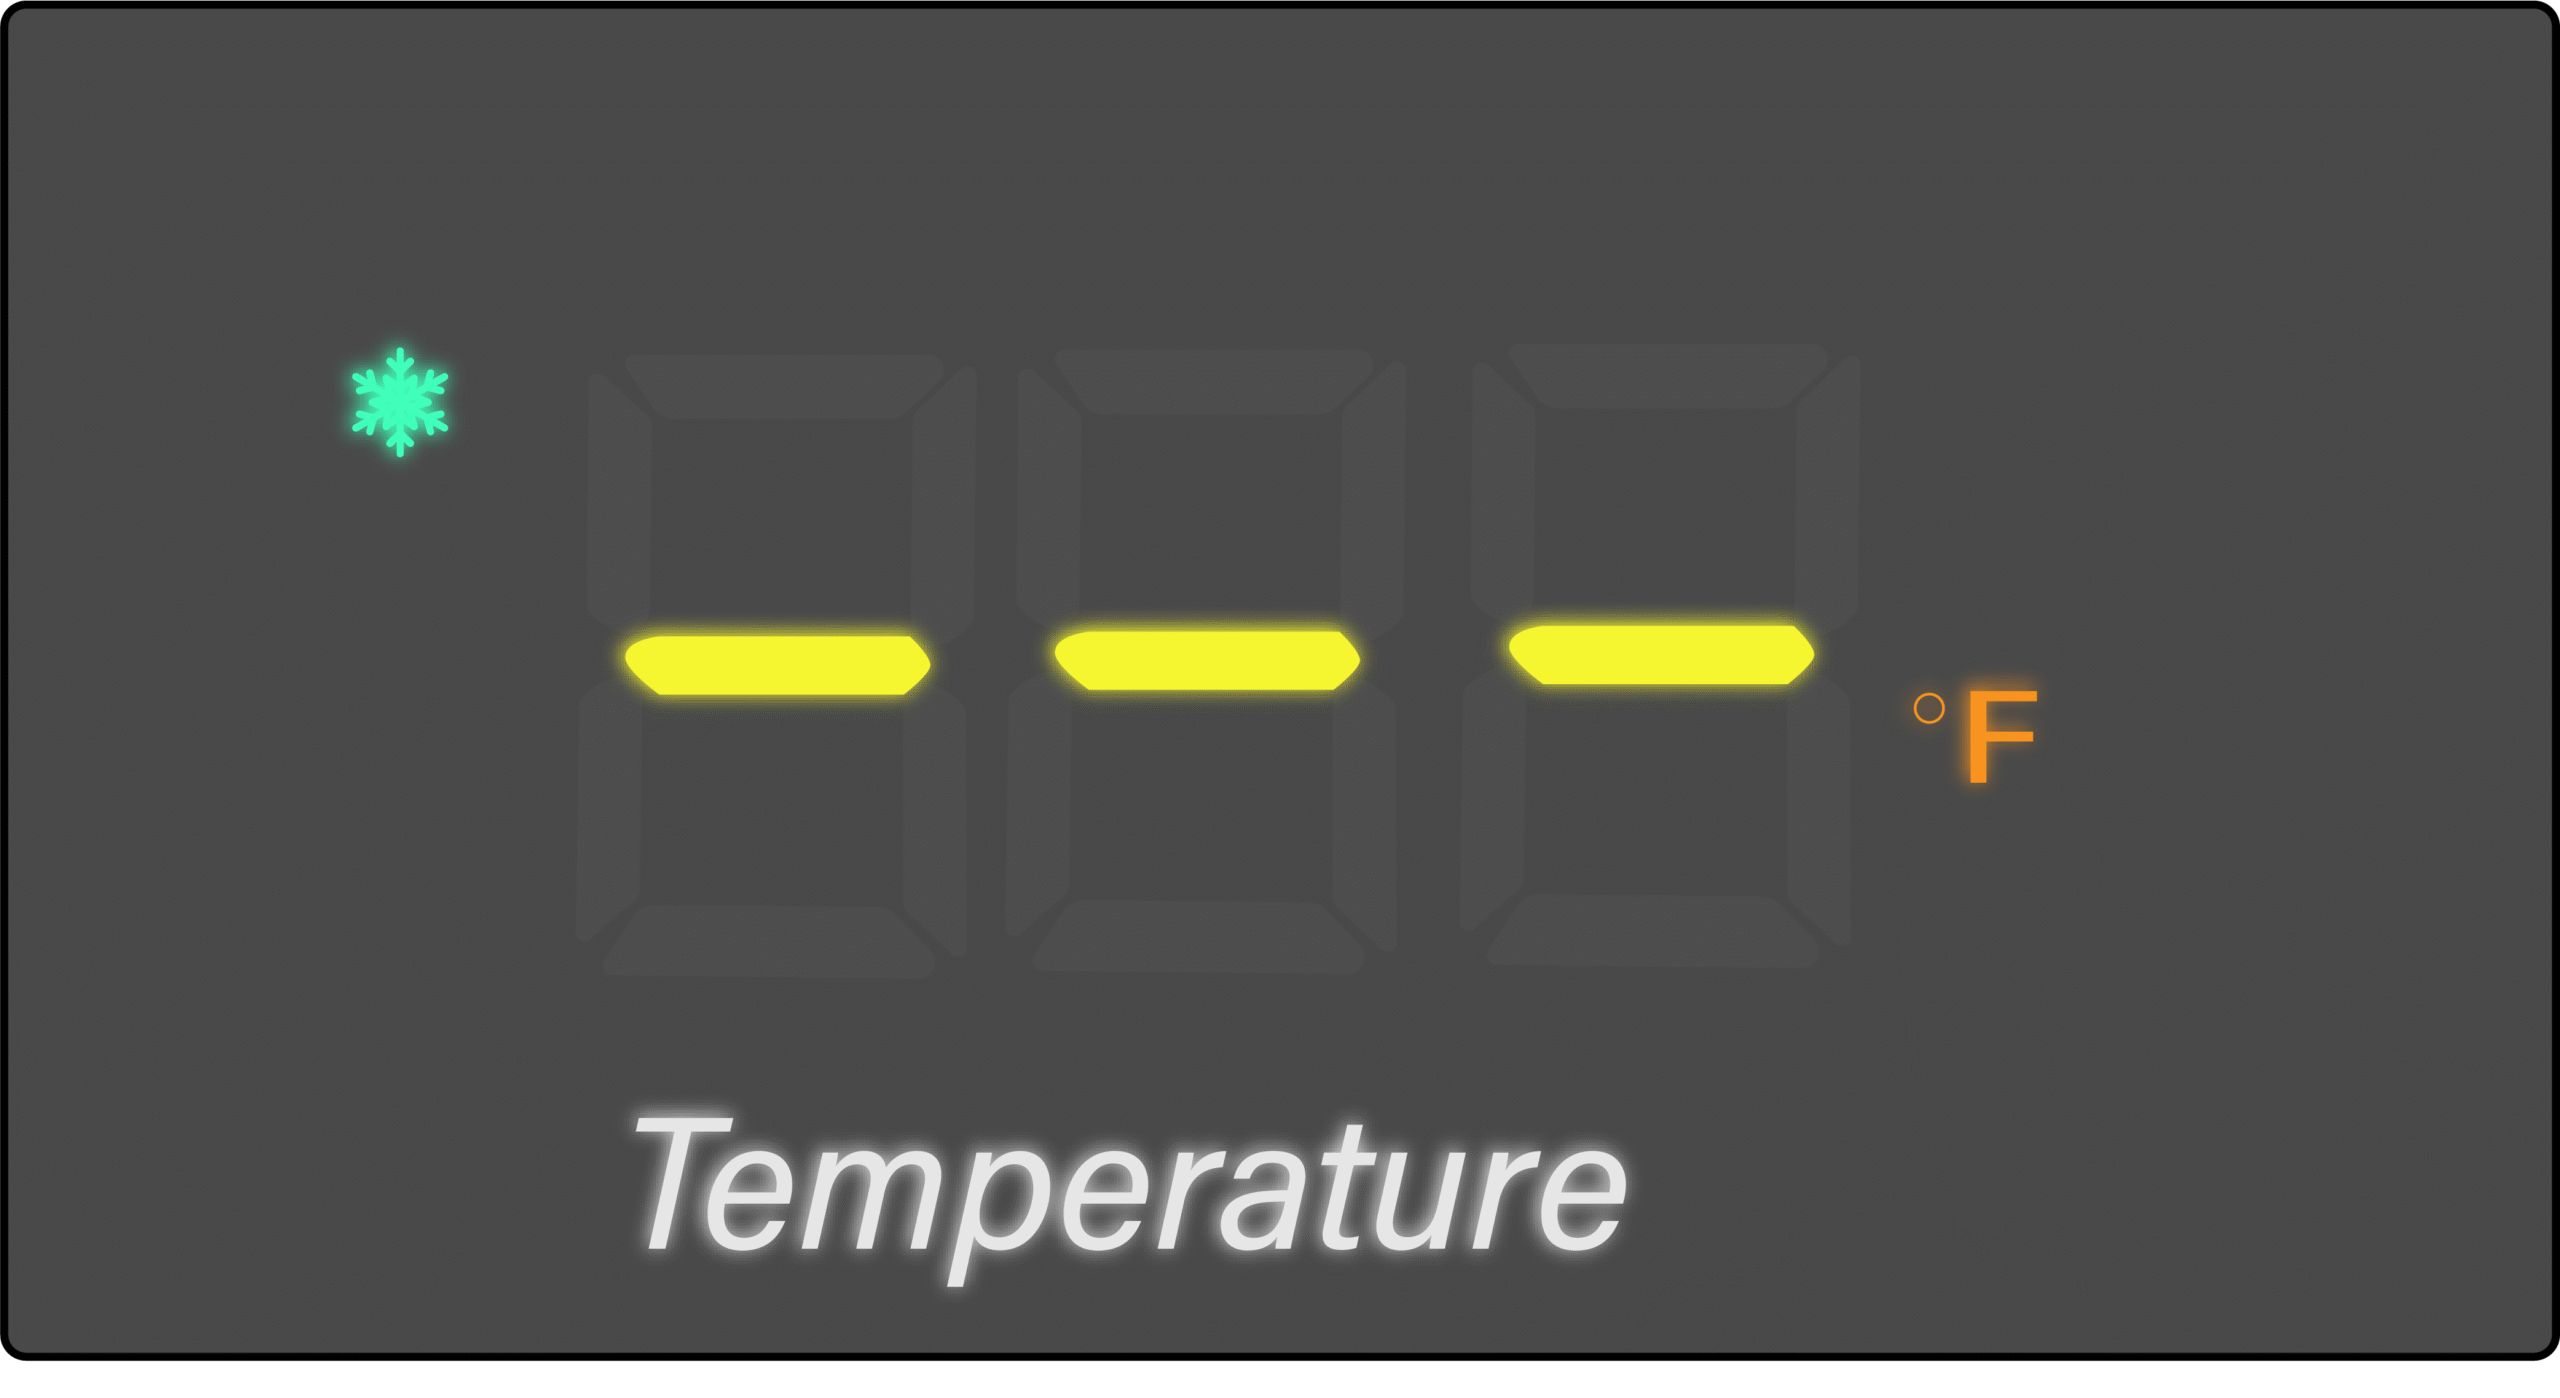
Set the controller to your desired temperature. Listen for the chiller to start priming, and ensure no large air bubbles are coming from the inlet jet. Three dashes on the temperature display means the cooling feature is off.
Ensuring Proper Water Flow
Check that water flows continuously from the outlet and ripples the water surface. If the flow is weak or absent, ensure the water level is at the proper height. If needed, open the quick connect fitting on the outlet of the chiller to manually release trapped air.
Using the Cold Plunge Tub
Temperature and Duration:
Beginners should limit their sessions to 1–3 minutes. Gradually increase as your body adapts, extending up to 3–5 minutes.
Experienced users can extend their immersion time, but do not exceed 10 minutes without taking a break. Prolonged exposure beyond 10–15 minutes can increase the risk of adverse effects, including hypothermia.
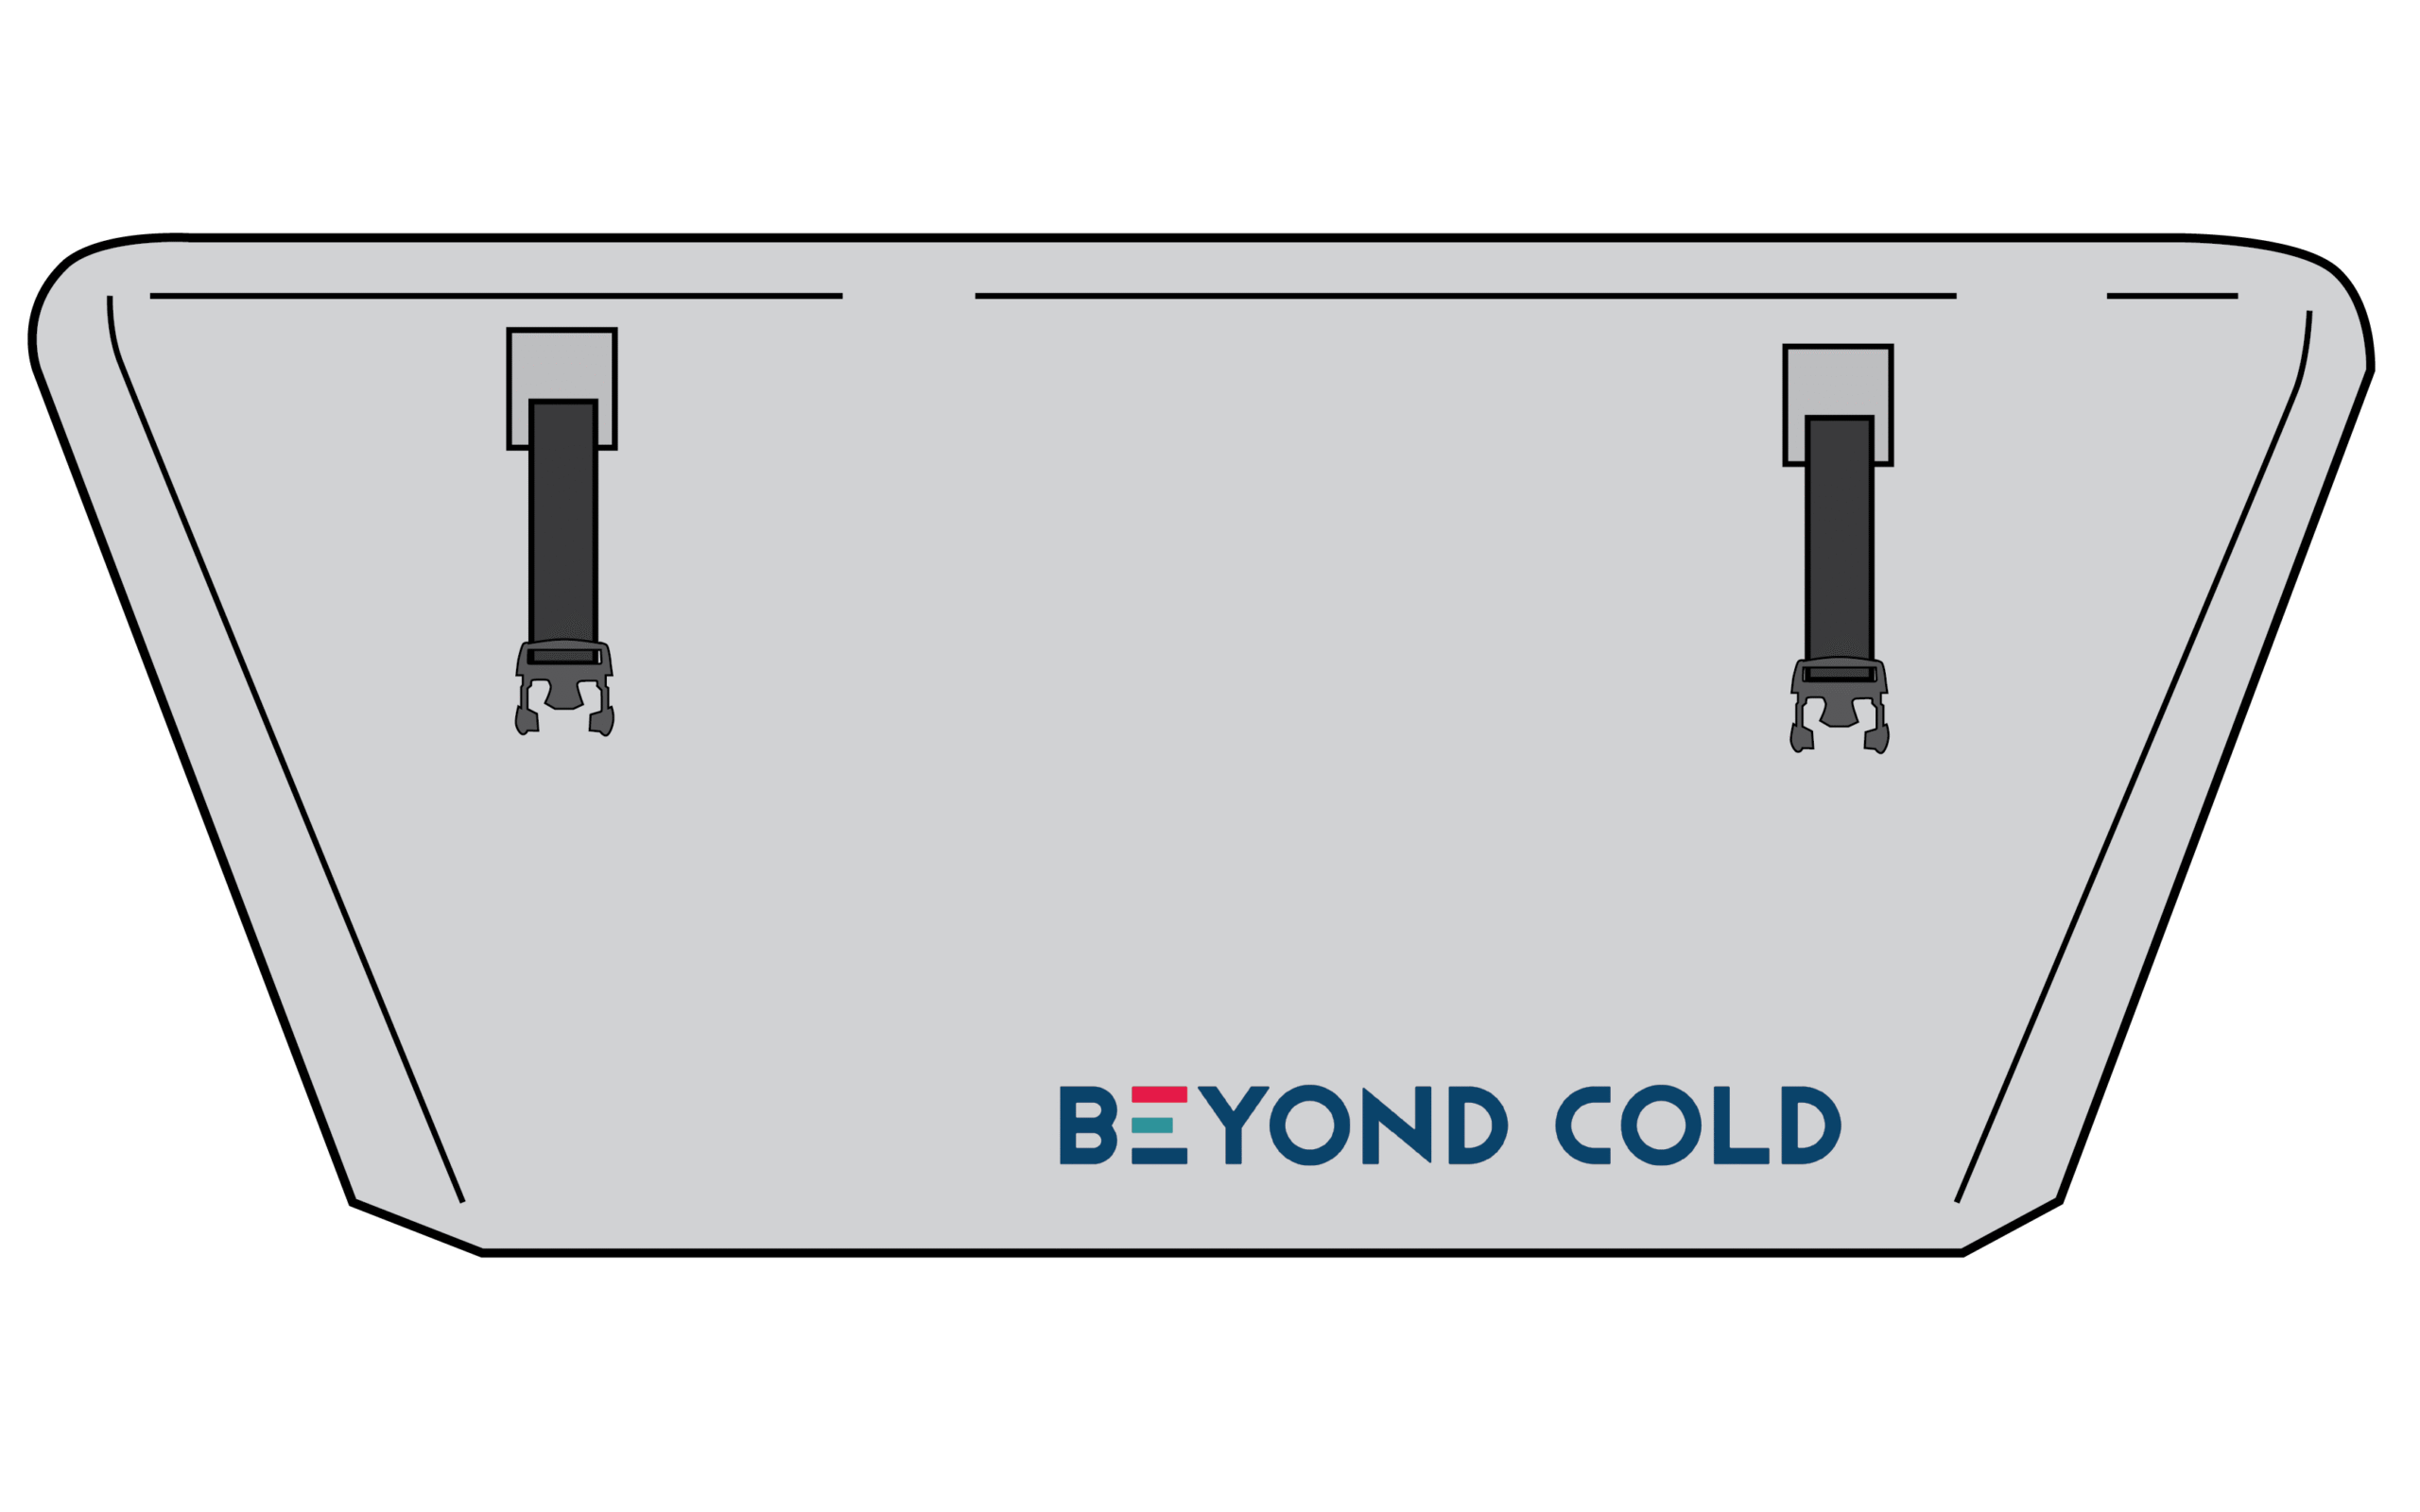
Cover: Use the included cover when the tub is not in use to maintain water temperature and prevent debris from entering the tub.
The lid includes a combination lock for the buckles. Set each buckle to “00” to unlock. To lock, set each buckle to “00,” clip the buckle, and then turn the dials to any other numbers.

Maintenance & Draining
Periodically treat the water with chlorine to maintain cleanliness. Chlorine kits are available on our website.
Clean the filter basket weekly. Turn off the chiller, unscrew the filter basket lid, clean out any debris, and reinstall properly. Power the chiller back on, ensuring proper water flow.
If the ambient temperature may drop to freezing, 32°F or below, you must disconnect, drain, and store the chiller indoors to prevent damage.
Draining the Tub
Using the Camlock to Garden Hose Adapter: The included drain adapter allows you to drain your Journey Cold Therapy Tub using a standard garden hose.
- Turn off and unplug the chiller.
- Disconnect the blue hose from the tub.
- Cap the tub inlet using the supplied cap.
- Attach the camlock to garden hose adapter to the hose you removed from the tub.
- Connect a standard garden hose to the adapter.
- Route the garden hose to a suitable drainage area.
- Allow the tub to drain completely.
Frequently Asked Questions
1. Should I keep the chiller running all the time?
Yes, continuous operation keeps the water cold, reduces bacterial growth, and ensures your tub is ready to use. Cooling from room temperature can take hours.
2. How often should I clean the filter?
Clean the filter basket every 5–7 days to maintain optimal water flow and clarity, ensuring efficient operation.
3. How do I know if the chiller is primed correctly?
After powering on, check for a steady flow from the outlet and a slight ripple on the water surface. If flow is weak, release trapped air from the outlet quick-connect or add water to the filter basket.
4. What should I do if the water isn’t cooling?
Ensure the chiller’s power is on, temperature is set, and there’s strong water flow. Clean the filter basket if needed. Contact support if issues continue.
5. How often should I replace the water?
Replace water every 2–4 weeks, depending on usage and water treatments. Watch for any changes in clarity or smell.
6. Can I use chemicals to keep the water clean?
Yes, use mild treatments like hydrogen peroxide or chlorine in recommended amounts, avoiding harsh chemicals that could damage the tub or chiller.
7. How can I prevent freezing during cold weather?
If temperatures may reach freezing, 32°F, bring the chiller indoors or drain the system. Freezing damage is not covered.
8. Is the cold tub safe for children?
No, it’s designed for adults only, as cold immersion stresses the body. Always consult a physician for anyone’s use of cold therapy, and have a responsible spotter for new users.
9. How long should I stay in the cold tub?
For beginners, 1–3 minutes is recommended, while experienced users can extend to 3–5 minutes. Avoid exceeding 10 minutes without a break.
10. What should I do if I see condensation?
Condensation is normal. Place the tub in a spot that can handle water exposure and occasionally wipe down any excess.
Warranty & Support
All Beyond Cold chillers and plunge tub packages include a one-year warranty. Select packages may offer an optional extended warranty for an additional fee, based on your specific purchase.
Beyond Cold warrants our products to be free from defects in materials and workmanship. The warranty term begins on the date of purchase. This limited warranty does not cover any damage, deterioration, or malfunction resulting from any alteration, modification, improper or unreasonable use or maintenance, misuse, abuse, accident, neglect, exposure to excess moisture, fire, improper packing and shipping, lightning, power surges, freezing damage, or other acts of nature.
Beyond Cold will, at our discretion, repair or replace any chiller or package component covered under this warranty. To request warranty service, please contact our technical support team.
Shipping and Handling for Warranty Repairs: If this product is returned to Beyond Cold for repair, the customer is responsible for shipping charges to send the product to our facility. Proper packaging is required for safe transport, and the product must be insured during shipment. Once received, Beyond Cold will repair or replace the product at our discretion and cover the cost of shipping it back to you within the continental 48 states. Additional shipping surcharges may apply for locations outside the continental 48 states.
Warranty Disclaimer: TO THE MAXIMUM EXTENT PERMITTED BY LAW, THIS LIMITED WARRANTY AND THE REMEDIES SET FORTH HEREIN ARE EXCLUSIVE AND IN LIEU OF ALL OTHER WARRANTIES, REMEDIES, AND CONDITIONS, WHETHER ORAL OR WRITTEN, EXPRESS OR IMPLIED.
Need Help?
Need help choosing the right model for your home or facility, or require technical support? Our Tennessee-based team is here to assist you.
Call: 865.450.8323
Email: info@beyondcold.com
Address: 1157 Corridor Park Blvd, Knoxville, TN 37932
Website: beyondcold.com/contact